Lion’s Head is one of the most iconic and easily recognisable natural attractions in Cape Town. Not only does it form part of the city’s famous three peaks (Devil’s Peak, Table Mountain and Lion’s Head) – but it is also one of the most popular hikes. Truthfully, I think every Capetonian and tourist has hiked up Lion’s Head at least once – and in every season too.
While the hike has definitely become a more crowded, Insta-worthy hike in recent years, I still love that this is a hike that people of all fitness levels can enjoy for free.
Since I first moved to Cape Town in 2014, I have been up Lion’s Head thrice and in almost every season (except summer oddly). So this is a hike I am well familiar with.
In this post, I share some tips and practical information on hiking Lion’s Head.
Lion’s Head History and Height

If you don’t know the history of Lion’s Head, then here is some insight. This mountain peak, along with nearby Signal Hill, apparently earned its name many years ago.
Our history records tell us that the two parts of the mountain reminded them of a lion crouching. The earliest maps refer to this mountain as ‘Leeuwenberg‘ (Lion Mountain) or ‘Leeuwen Kop‘ (Lion’s Head). However, the exact naming significance and reasoning is unclear and is lost in the chronicles of time.
Personally, I believe it was because of its shape but also because, years ago, Lion’s Head actually was home to lions. History records indicate that, in 1802, that the last wild lion was shot dead on Lion’s Head.
Today, however, Lion’s Head is still home to a wonderful array of birdlife and other wildlife – including caracals (or rooikats), dassies (rock hyraxes) and lizards.
View this post on Instagram
Lion’s Head rises proudly among the clouds. At its highest peak, it stands tall at roughly 669 metres above sea level.
Sneaky Side Path Before the Main Hike up Lion’s Head

On one occasion, I actually started my Lion’s Head hike just past the Kloof Nek Visitor’s Centre, via a little side path.

This pathway leads you over sandy, roughly hewn pole steps and along lovely wooden walkways but it is extremely beautiful. Especially when the keurbooms, proteas and other blooms are in flower.


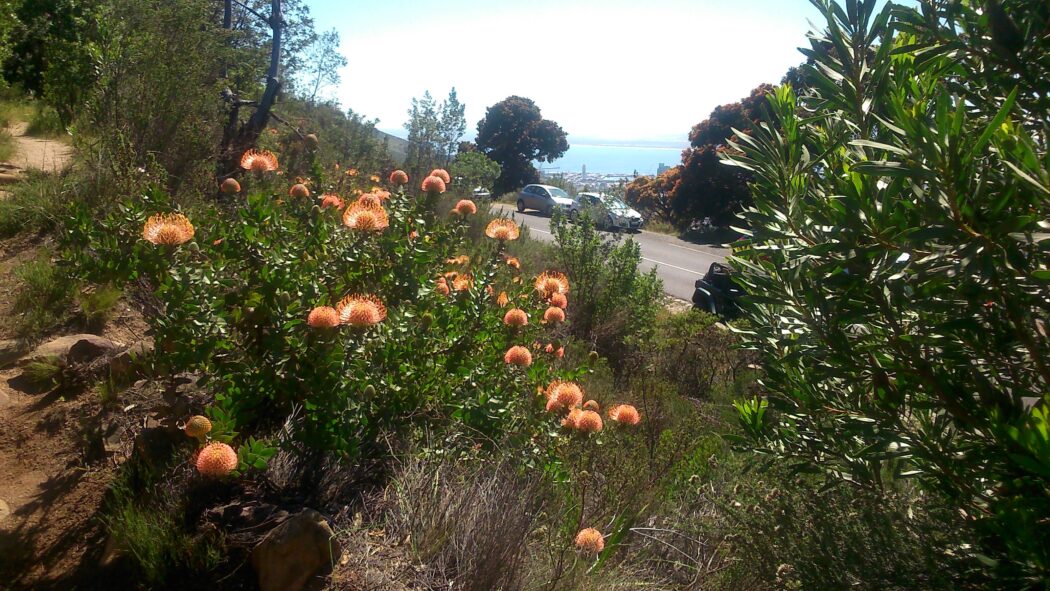
If you cover this path, you get in a bit of an extra hike. Because, after a few hundred metres or so, it links up with the main Lion’s Head hiking trail.
Note: It has been several years since I used this little side path. So I could be wrong but I assume it is still accessible and safe.
Start of the Lion’s Head Hike
When you hike up Lion’s Head, there are two main routes that you can take. The longer one is called the Spiral Route, while the other more direct, slightly more challenging route is referred to as the Chains Route.
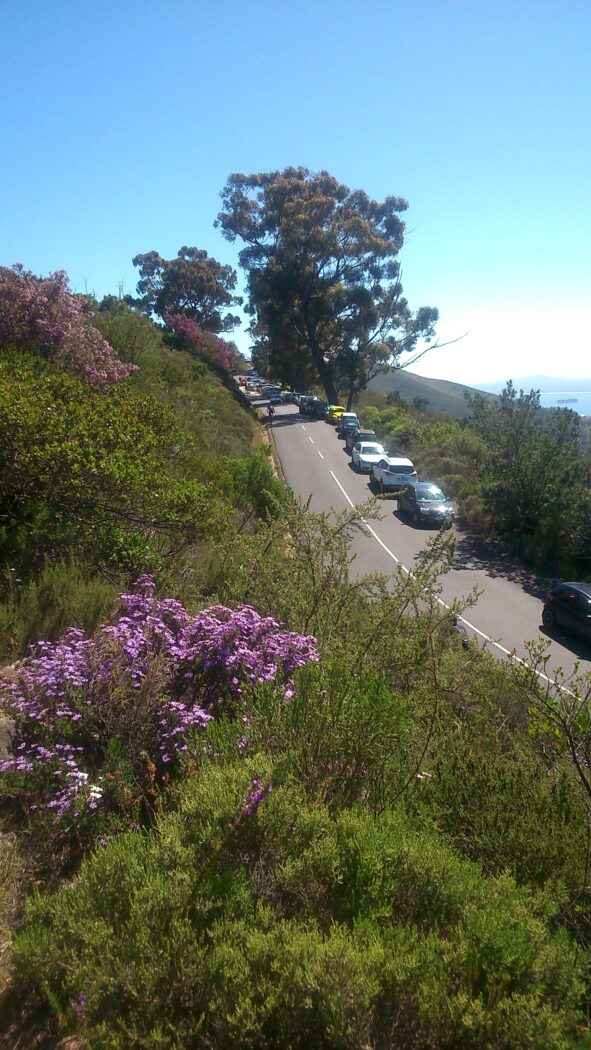
Before the trail splits into two, the primary route up commneces from the beginning of the Signal Hill parking area.
Note: While the parking lot is generally always busy, in recent times, car break-ins have been an issue here. So, when you park here, please just be aware of this. (Personally, I would Uber or catch the MyCiti bus to the nearest stop at Kloof Nek.)

The first part of the hike is quite steep and takes you up a dirt road/jeep track. This road is lined with perfectly positioned benches. These are ideal for catching your breath while soaking up the city-, mountain- and ocean-views.
In my opinion, the first few hundred metres of the dirt sections are certainly the steepest (at the start of the hike). Your legs definitely get a good workout.
When you start up the dirt path, keep a watch for joggers who sometimes come hurtling downhill. Also, more hardcore hikers may be on a mission to get up and down as quickly as possible. So, if you wish to hike at a slower pace, please be courteous and let them past.
A Mix of Hiking Lovers

The rest of the hikers are normally a mix of couples, groups of friends, some elderly folk or young families with kids.
Personally, I don’t feel Lion’s Head is an entirely child-friendly hike. I wouldn’t take kids under 12 or 13 on a hike like this. However, in saying that, people do hike it with children so each to his own.
As you climb higher, I really love the views of Camps Bay and the Twelve Apostles that slowly spread into view.

Silver Tree Forest and the Paragliding Launch Site
Around this section, when the exotic-looking Silver Tree Forest starts and just after the first pole steps, there’s also a paragliding launch site.
Near this point, there’s also a separate path that branches off somewhere – but stick to the main path.
It gets a bit rocky for a time but the rock steps are fun to climb. Mostly. 🙂

Seaboard Side of the Lion’s Head Hike
When you round the curve at this point, you are blessed with stunning views of Bantry Bay, Sea Point and even Robben Island in the distance. (You can also see it quite well from the 669m summit. So be sure to check it out when you reach the top.)

After that, you get great views of Sea Point, Robben Island (again) and eventually, Signal Hill too. I really love the boulders, various flowers and ice plants that line the pathway on both sides at this point.
As you wind your way upwards, I love the rock faces that start soon after.
At this point, you’re just under the midway mark but, in some regards, the ‘worst’ of the hike is yet to come.

Near here, you have to climb some considerable boulders and even use the first chain/iron staple aid for the first time.
Choose Your Path: South-eastern Corner Route or Chains Route
A bit further on, you reach a crossroad; this is where you need to choose your route for going up.
If you head left, the south-eastern corner route is far less intimidating (as far as climbing and giddying drops go). But it takes a bit longer and is apparently steeper.

If you head right, you have to use the iron chains, ladders and staples to climb up. At times, it gets a bit hair-raising. I personally kind of hate that section. Every time I hike the route, I swear I won’t do it again.
Still, I have gone down and up it and managed just fine, even with my slight fear of heights.
The routes do eventually link up again past the second pine tree so it really is your choice which route to take.
Sense of Hiking Spirit
On one occasion when I went up the Chains Route, a lot of people were resting on the ledges, trying to gather strength for the last big climb.
People are pretty patient and wait for you, no matter how slow you go. It is very much a ‘give-and-take’, which I love.
We all have our own reasons for undertaking it but there is normally a strong sense of togetherness on this hike.
Be careful of the smooth roots, which can be slippery, and stumps in or near the path.
When you tackle the Chains Route, it is advisable to free up your hands. Don’t take unnecessary risk for the sake of photos. (Because I needed my hands free, I don’t have many photos from that section of the hike.)
My Unorthodox Hiking Methods
The route gets a bit easier for a few moments before the steepness and the boulders begin anew.
Going down, I slid off the boulders or gingerly sought out footholds in between them – but going up, I gracelessly used my arms and legs to pull and propel my body upwards.
I am glad that I scaled that final section, the summit ridge, with two guys climbing before and behind me because they were really watching out for me.
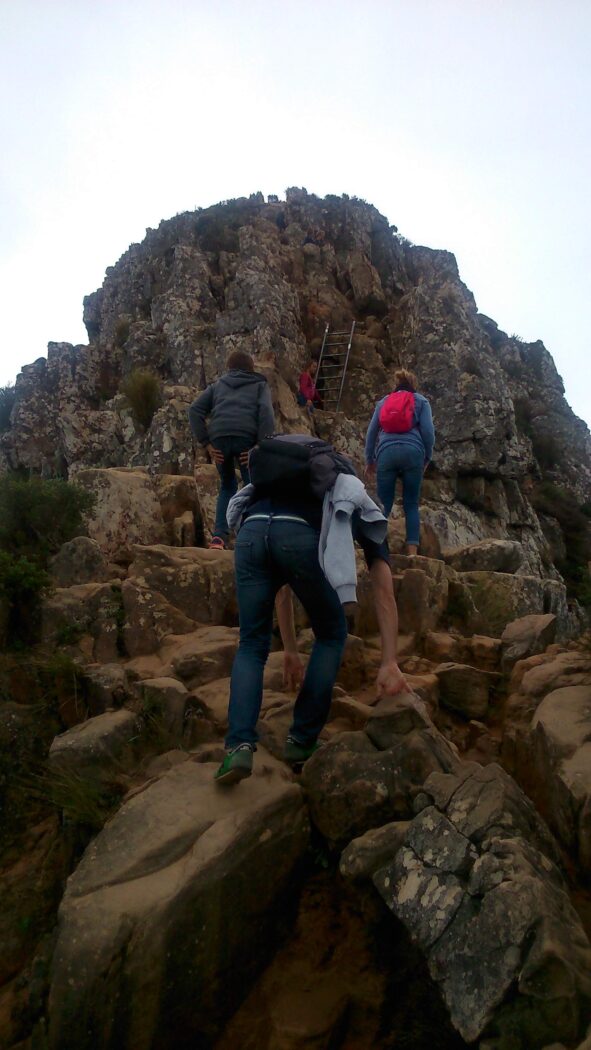
You will be tired by this point but keep going because you are almost there.
Mission Complete: Standing at the Summit of Lion’s Head

Once you reach the summit, take time to rest, drink some water and admire the 360-degree, breathtaking views that surround you. It’s quite something!
Here you will also see certain markers and chunky boulders. People always pose for photos next to or on top of these. The boulders and ledges are especially popular during sunset, as they undoubtedly serve as the best seat in the house.
View this post on Instagram
When sitting on the ledges or posing for photos, be safe and please don’t add more unsightly graffiti.
Remember the cardinal rule of nature: take only memories and photos, leave only footprints…

At the summit, you normally see a few lizards sunning themselves on the rocky ledges. So if you’re interested in a little wildlife photography, keep your camera handy for that purpose too.
If you’re in a group or pair, polite ask someone to take a photo or two for you and return the favour. 🙂
Hiking Down Lion’s Head

After killing about half an hour atop the summit, I am normally ready to head down.
When hiking down, most people generally take their leisurely time. Even if you are in a hurry, it is relatively easy (barring a few sections) and quick to descend to the base.


While I have hiked the chains path down once, I generally prefer to take the left (south-eastern) path down.
It provides more safe photo opportunities and feels slightly safer too. If you do a full moon hike, this is the recommended route when hiking down.
Lion’s Head Hiking Tips and General Information
The hike generally takes about two to three hours, as it is about five kilometres in length.
Average time for going up is about an hour but I have gone up in under 50 minutes (even while stopping to take photos). It really depends on how quickly you want to do it. Just pace yourself according to your fitness level and enjoy the hike.

Be careful in windy or cloudy conditions. Please also be advised that the rocks and pathway can be slippery even in the best conditions.
I would definitely not hike this route in rain or extreme wind, as it might be very unsafe. (When the clouds and mist encircle the upper reaches of Lion’s Head, it is scary enough to hike…)
View this post on Instagram
People often hike Lion’s Head at sunrise or sunset to soak up the best of its beauty but it is gorgeous at any time of day or night.
However, even though Lion’s Head is one of the busiest hikes – to be safe, you should always hike in groups of 2-4.
Remember to wear proper, safe shoes, pack in a warm jacket (it can get very cold on the summit), apply lots of sunscreen (the trail is quite exposed to the sun) and pack in water and/or a snack. You will also want a camera or smartphone for photos.
Lion’s Head is a great hike for beginners or those new to the city.
It is easy to moderate in hiking difficulty level; provides incredible scenery; and is a rewarding, free hiking experience.
In Closing

Every time I explore Cape Town and its more ‘natural’ highlights, I realise just how blessed I am to live in such a beautiful city.
I hope you get to experience Lion’s Head for yourself sometime. Because, even when you wake up with aching joints the next day, you realise how much good it has done for your mind, body and soul. Happy hiking! 🙂
Photo Credits and Information Sources
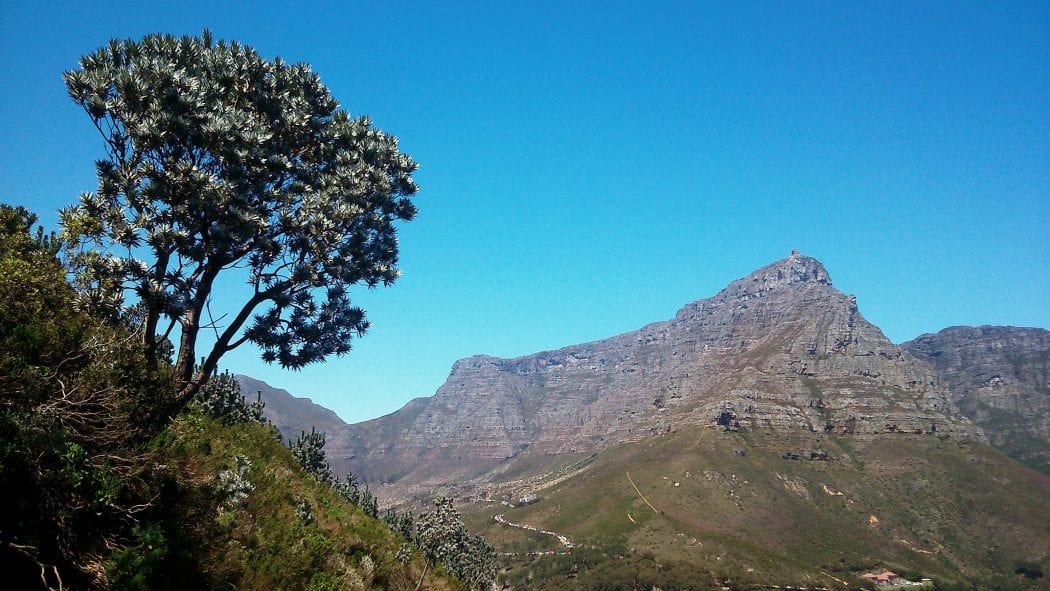
Most of the photos used in this post are my own – unless otherwise credited. However, I wish to extend my special thanks to all those who permitted me to use their photos as well.
For this post, I also sourced some factual information from Gateway Guides, Friends of Lion’s Head and Chavonnes Battery Museum. Thank you to these sources for their facts and general information.
While I have done my best to provide an accurate account of the hike, both through my words and images – for full details, it is best to refer to an official source. As such, you may wish to read more about Lion’s Head below.
Gateway Guides also has an excellent map and explains the hike in greater, more accurate detail than I can.
For more information on the Lion’s Head hike, please see:
- Chavonnes Battery Museum: How Lion’s Head Got Its Name
- Gateway Guides: Lion’s Head Guide
- Friends of Lion’s Head
Keen to Discover More Western Cape Hikes?

If you need more Western Cape hiking inspiration, be sure to check out my Best Day Hikes post! 🙂
About the Author